Some of you may remember that quite some time ago i purchased a blonde waif in need of some TLC.However, when she arrived it soon became clear that she would need an abundance of TLC as she had a lot more problems than the seller had let on. I took one look at her little face and started making plans to fix her up so to speak.
It has taken quite a while as home and family life has put a few obstacles in my way. Now, i can start to share Hope’s story with you. I decided to call her Hope so that she can be a beacon of hope to all those little waifs out there just waiting to be found.
The first photo’s of Hope are the ones i took when she arrived. Hope had quite a few problems then and there are some i will never be able to fix. When Hope arrived her stringing was shot so she could not hold a pose.
She was very dirty and had ink on both sides of her face. She has a dink out of her nose and a scratch right across one of her eyes which i can do nothing about. Her hair was like straw, but maybe the worst thing of all was that she had no knuckles, it was as if someone had filed them away.


Where to start i asked myself, i decided to try to remove the ink from her face first and there are a couple of ways of doing this. I decided to use acne cream on her face to remove the ink. I had quite a job explaining to the chemist what i wanted it for and i had to promise him that it was not for use on an animal!
First of all i gave Hope a nice body wash making sure that i did not ge t any soapy water inside her. I removed Hope’s arms and put pencils along side the sockets to keep the stringing there. Once Hope was dry i wrapped her in tissue paper and only left the parts of her face with the ink on exposed.
Next i applied acne cream to the ink and then i place Hope in front of a lamp and checked her every now and then, once the acne cream had hardened i removed it and re-applied a fresh batch. The lamp was not proving as successful as i had hoped, so i decided to leave Hope on the window sill and let the natural sun work on the acne cream.


After a couple of weeks on the window sill the ink on Hope’s face had gone.
So the first part of repairing Hope was to remove the ink from her face which has been done.
The next part was not so easy. I decided to try and repair Hopes badly damaged hands. her poor hands had no knuckle area at all as some one had filed them away.
The first step was to remove hopes arms.


Once i had removed hopes arms i could get a better look at the damage which extended to the under part of her hands also. Poor Girl!
I tried the hot water technique first, so i filled a small bowl with nearly boiling water and plunged her hands into the water for a couple of minutes.


Now if there had been a dent or ding to her hands, i would have been able to fix it using the hot water method, unfortunately this was not the case and the damage was to great so i had to re-think what i was going to do.
I consulted various Sasha people for any help they could give me and after much deliberation i decided that milliput was the way to go.
Now milliput is not available in many colours and the terracotta colour is more suitable to the colouring of the early Gotz dolls, so that would be something else to deal with later.
For now i had my terracotta milliput, i mixed up the milliput as per the instructions on the packet and applied it to Hopes hands, after making sure they were clean and dry first.


As you can see from the photo’s i applied enough milliput to the hands so that it sat proud, allowing me to sand the milliput down with very fine sand paper. I sanded down the milliput by hand very gently a bit at a time comparing her hands to the unaffected hands of another Sasha doll as i went and this is what the sanded down version looked like.


As i said before the colour of the milliput di d not match the skin tone so once again after consulting some fellow Sasha lovers, i decided to use acrylic paint. I went to quite a few craft shops and although i found a colour that was quite similar to the dolls completion it was not an exact match. then i remembered that someone once told me that Sasha M always used a touch of black in her paints, which gave me an idea. i added black paint drop by drop to the complexion paint until i reach a colour that i was happy with.
I then painted the milliput with the paint and carried the paint over the milliput and a little way up Hopes hands.This was the result.

As you can see once the paint had dried the colour was not a complete match and at some point i will redo them until i get it right. Then i will seal the paint with matt acrylic varnish so that it does not shine to much but for now Hope has new hands!!
Hi everyone well here i am again with the next instalment of repairing my darling little Hope.
Now Hope had new hands it was time to try and re-string her, before i could do that i had to gather the equipment together that i would need.
Once again i took guidance from a number of Sasha friends and with the knowledge i had gained i decided to give it a go so to speak. now i am no professional at any of the repairs that i have carried out on Hope and everything i have done has been trial and error and done with love, so if you have a doll that needs repairing and you don’t want to take any chances on further damage then consult the professionals.
Brenda Walton is a professional person to go to if you need your doll re-strung in the UK.
i am adding a link to the Sasha Doll Musings blog as this gives you great detail on how to re-string a doll
http://sashadollblog.blogspot.co.uk/2008/11/on-re-stringing-sasha-dolls.html
The first thing i had to do with Hope was to re-set her bar in her neck as it had come loose and was rattling around in her head, so i stood her head in a shallow dish of hot water for a couple of minutes and then with a pair of medical forceps i re-positioned her neck bar and once cool it remained in place.
The restringing process on the Sasha Doll Musings blog shows slightly different equipment than i have used, for instance i could not find the the metal clamps they have used to i used cable ties. I don’t have any photo’s of the actual re-stringing that i carried out on Hope as i was too busy trying to do it.
A couple of tips i do have are with the head to leg re-string is to tie this off at the leg using a pencil as an anchor and then remove the pencil once the leg has been attached. I used plastic ties on the arm re-stringing as it is easier when using a smaller piece of stringing and also remember to put your arm stringing behind the leg to head stringing.
The equipment i used can be easily sourced, the medical forceps i got from ebay for about £8 in a job lot and these are excellent as they are self gripping. The boot hook was also on ebay for about £10 and is great for puling the stringing through, which was a tip from Ted. Ted also gave me a tip about how to use pipe cleaners to stop hook and bar attachments from falling into the doll.The plastic ties are easy to get hold of too.


The string that i used i purchased from ebay and i used the same thickness as the original.
I did it Hope has been restrung, so on to her hair, which resembles dry candy floss. The first thing i tried with Hopes hair was to first clean it gently with baby shampoo and then soak it in fabric conditioner. It felt ok so i styled it in rollers and left it to dry.

Unfortunatley once Hope’s hair was dry it still looked very dry and dull.I wet her hair again and this time i soaked it in woolite, which improved the texture, but her hair was still very dry on the ends. I decided to try a rich human conditioner that comes with hair-dye to the ends of Hopes hair and although her hair is by no means perfect, it does look better and smells beautiful.
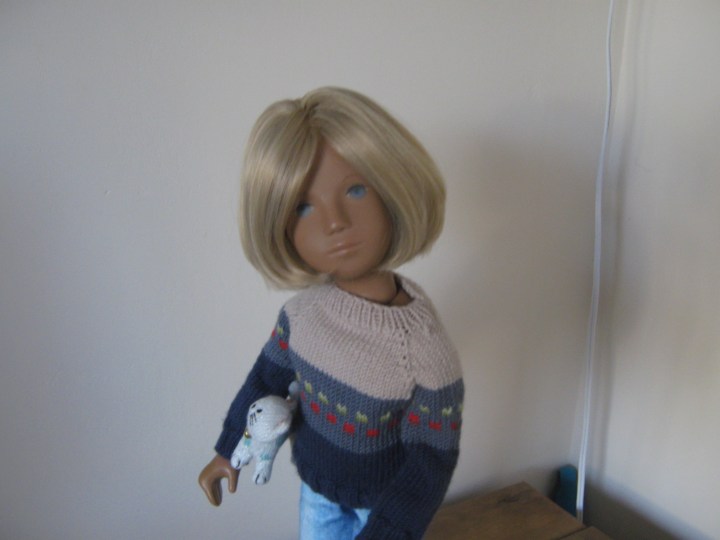
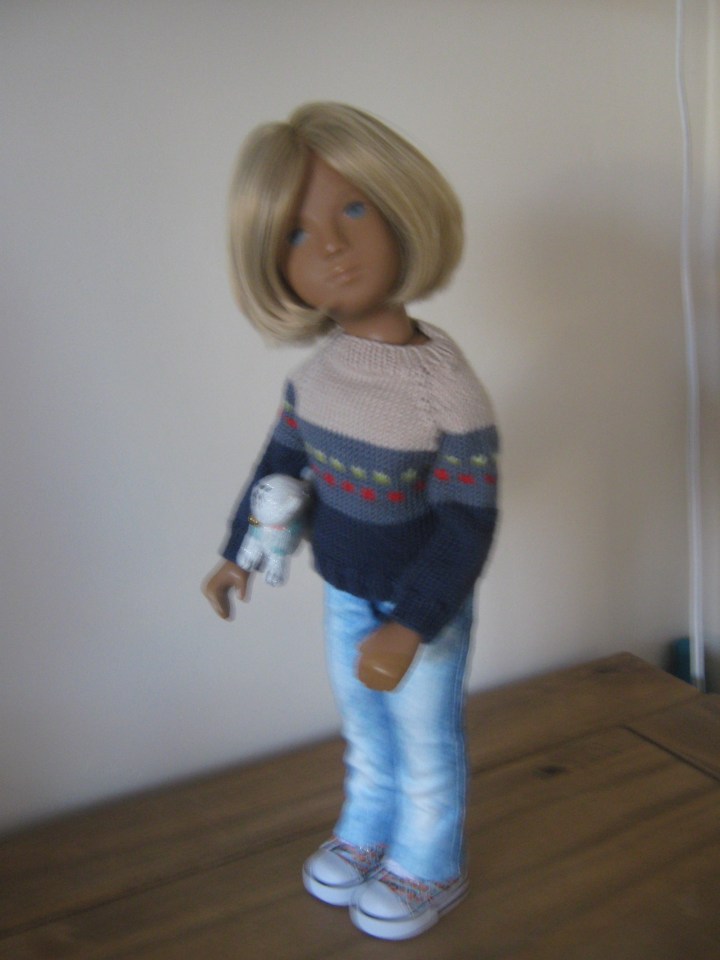
Would you like to see her, She’s a bit shy!!

Turn round Hope we want to see you.


Here are some more photo’s of Hope i think she turned out ok!!


And now there is an up date to this story, as hope’s hair was still straw like I decided to re-rot it and here she is now.