

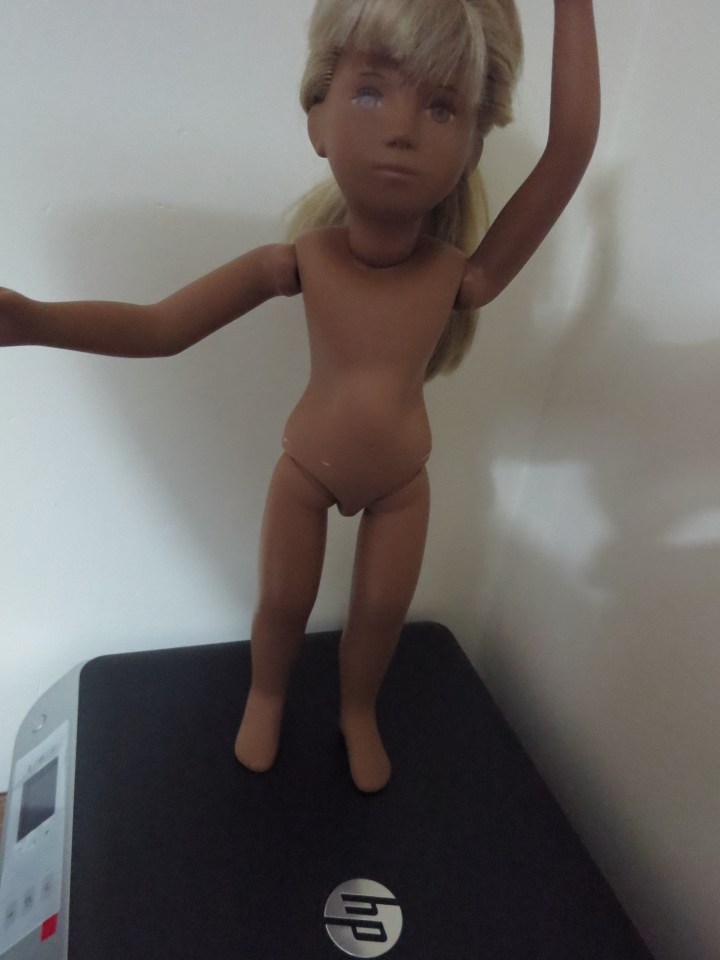

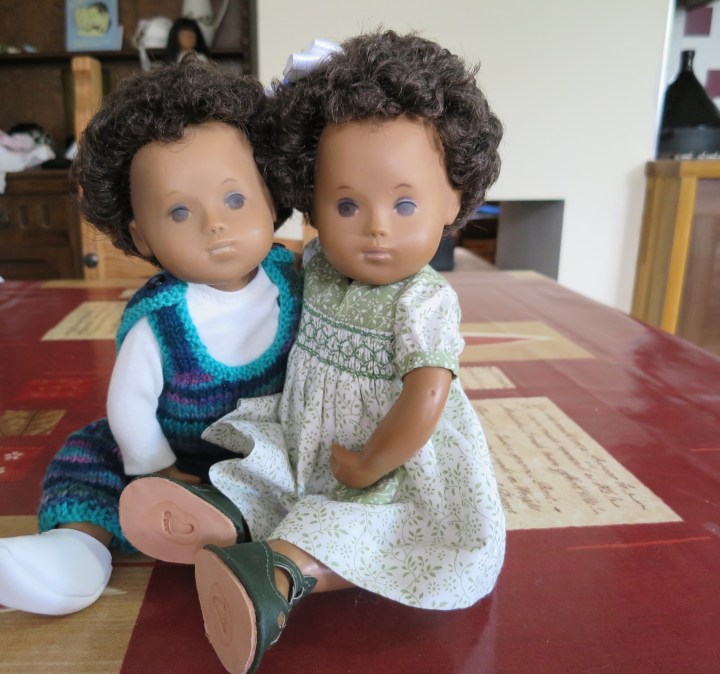
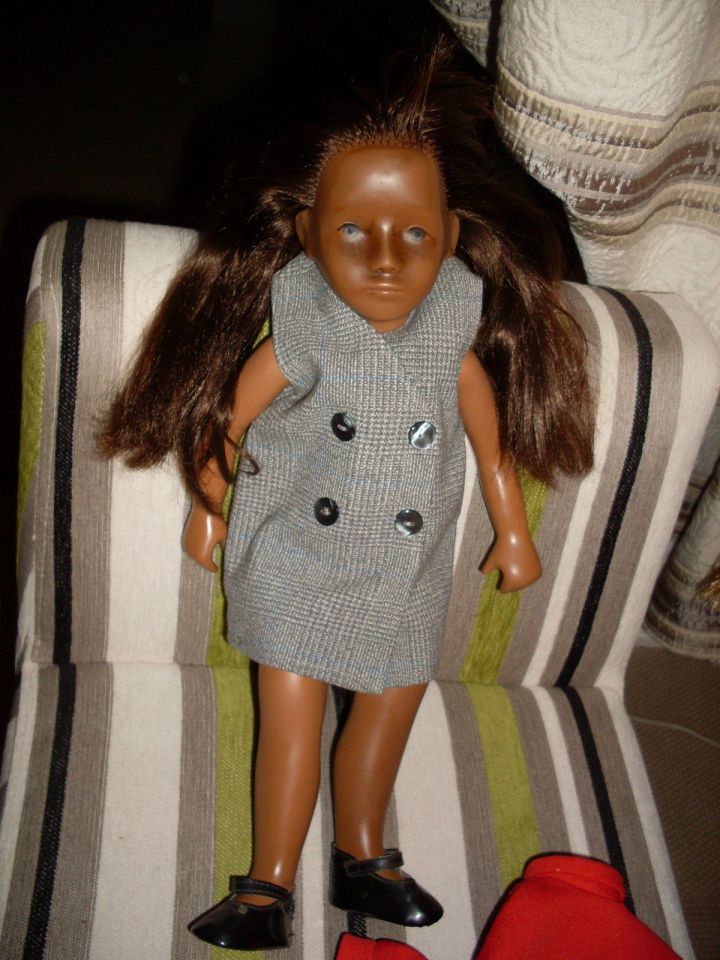
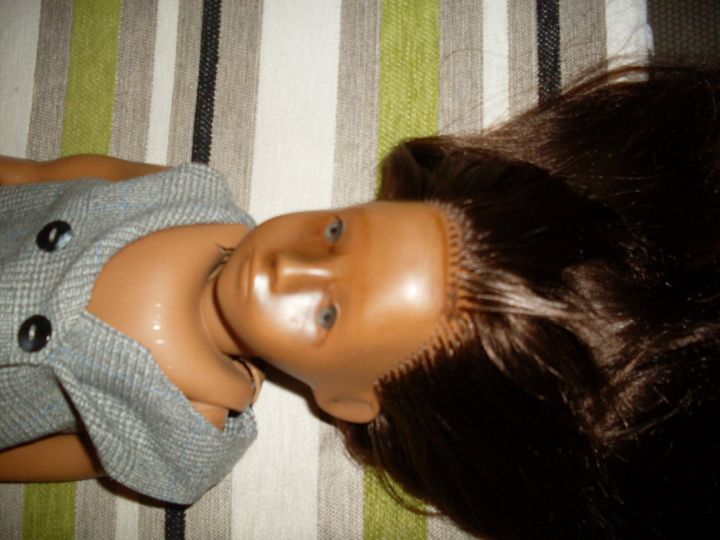
I recently re-homed this Later Gotz Sasha doll Maria. I knew she had problems and thought I would try to return her to her original state. Maria had quite severe caving to her neck and body due to her stringing being too tight. This is the first time that I have attempted to re-string a later Gotz and I can tell you it is quite a tedious task, but well worth it.
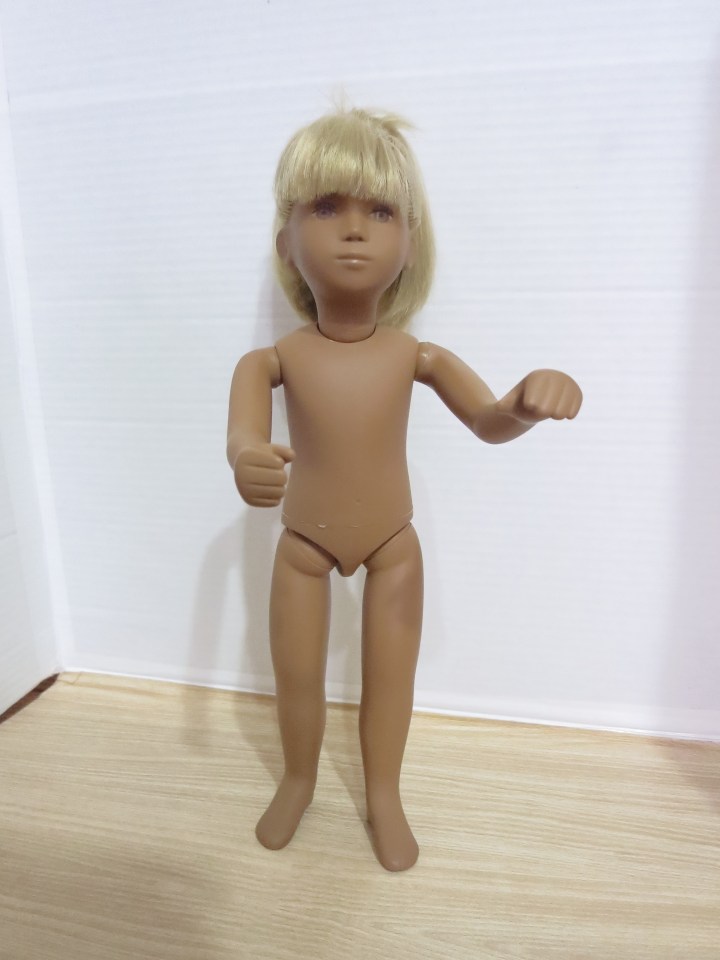
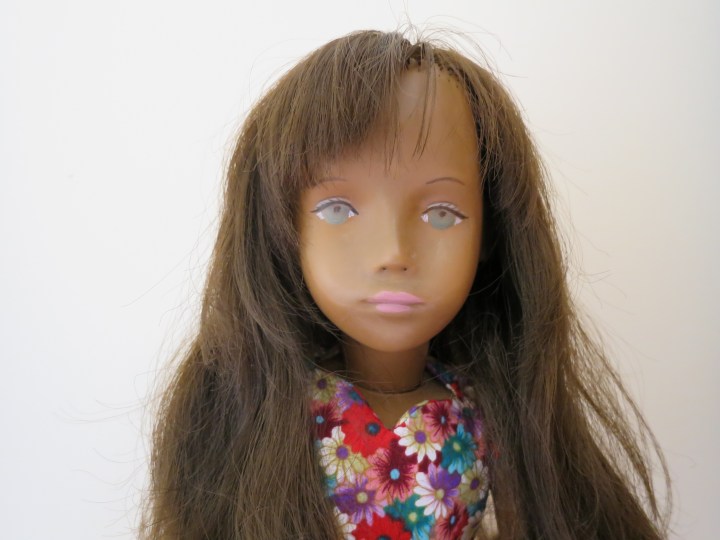
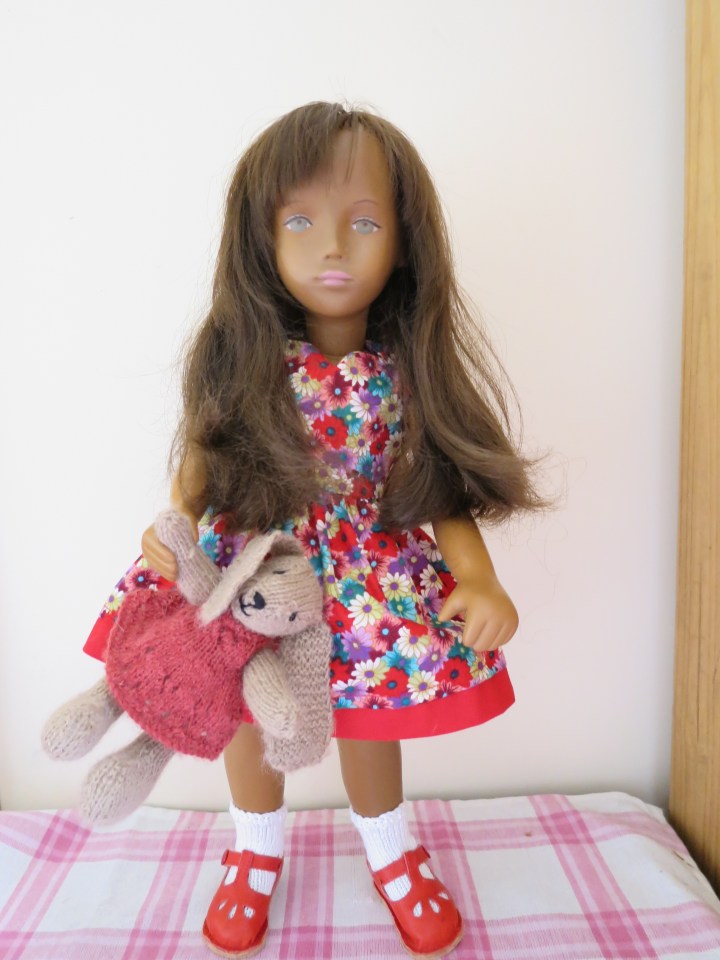
The photos above are of Maria when she first arrived and the ones below are how she looks now.

This is how I fixed Maria’s problems.
First of all I had to remove her stringing. The later Gotz dolls are strung using elastic stringing and plastic cups (as they are safer for children).
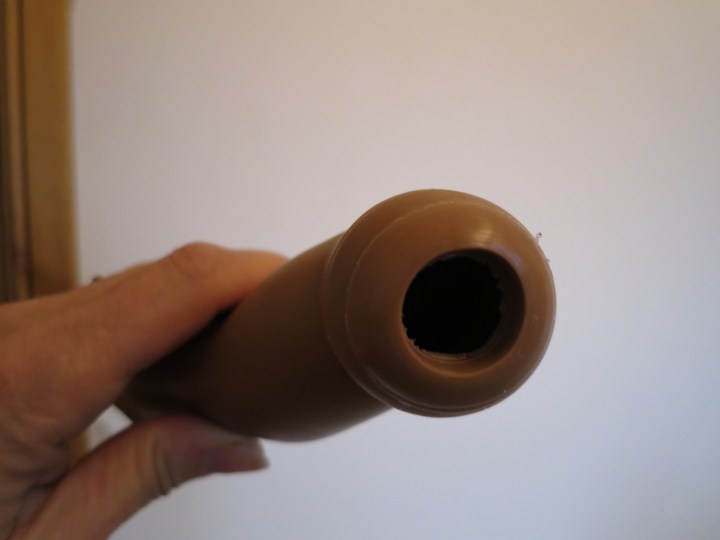
To remove the plastic cup from her leg to allow me to get to the stringing. I first heated the top of her leg with a hairdryer on full heat for a couple of minutes, to soften the vinyl.
Next I took hold of my trusty old button hook to encourage the plastic from the leg hole, once I could see the edge of the plastic cup I used forceps to pull it free from the leg hole.
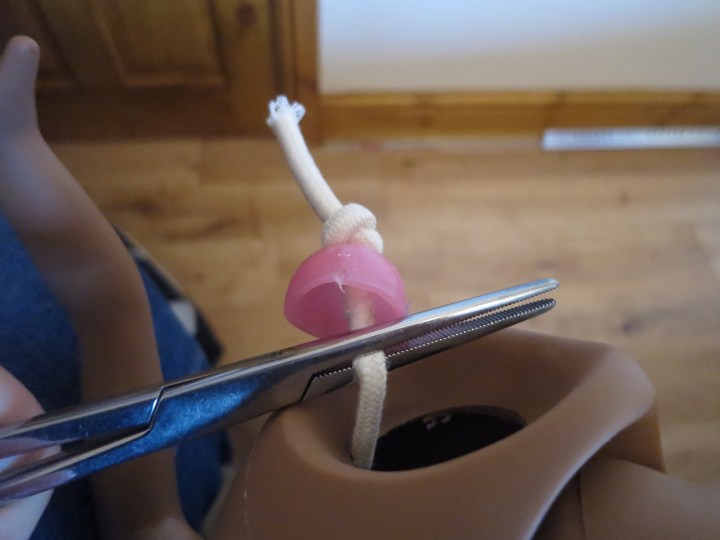
Once the plastic cup was out, I could see that the stringing went through a hole in the middle of the cup and was then secured with a tight knot. I held the stringing out of the body hole with the aid of a pair of forceps and then used my button hook and a smaller pair of forceps to undo the tight knot.


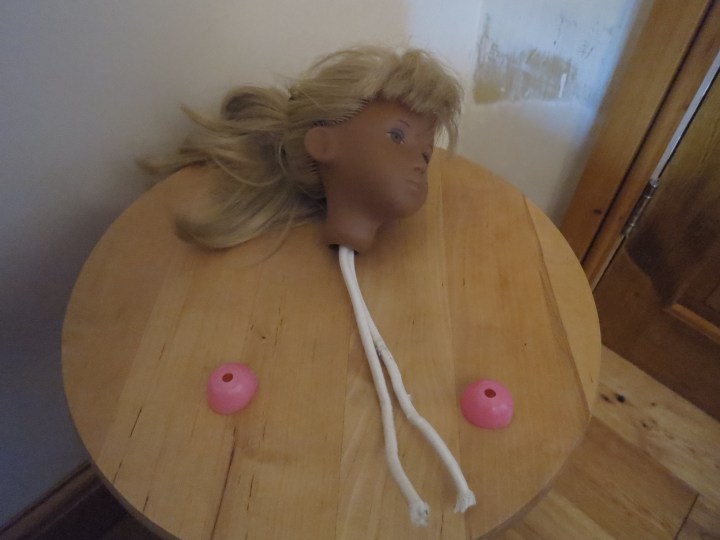
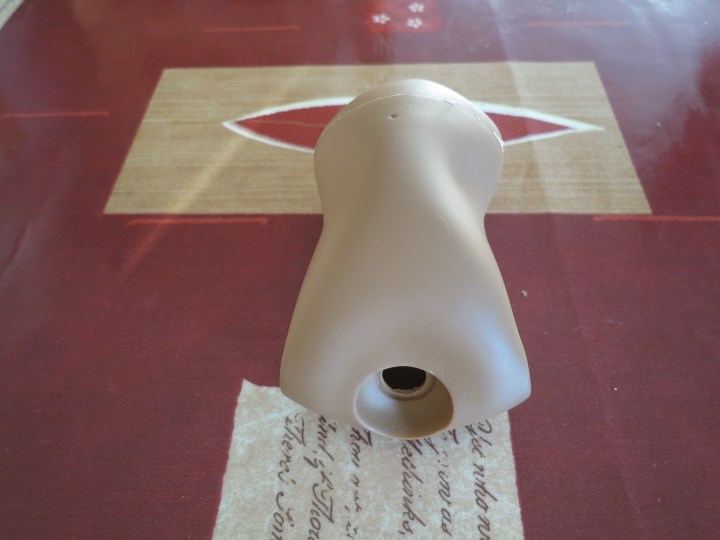
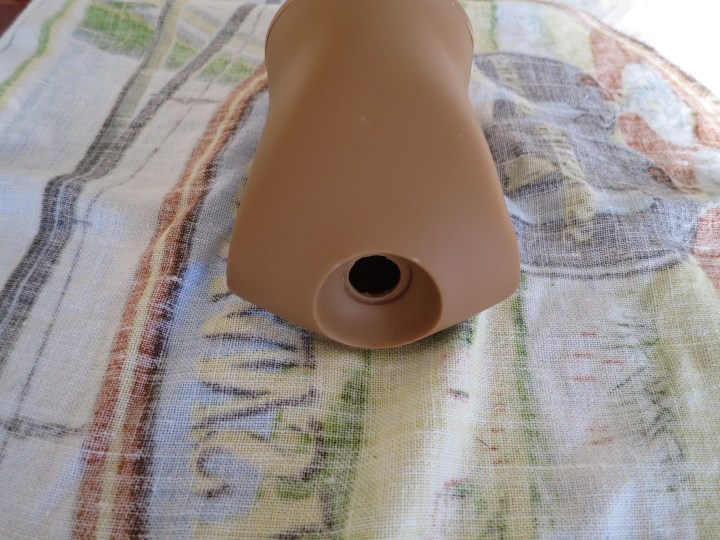
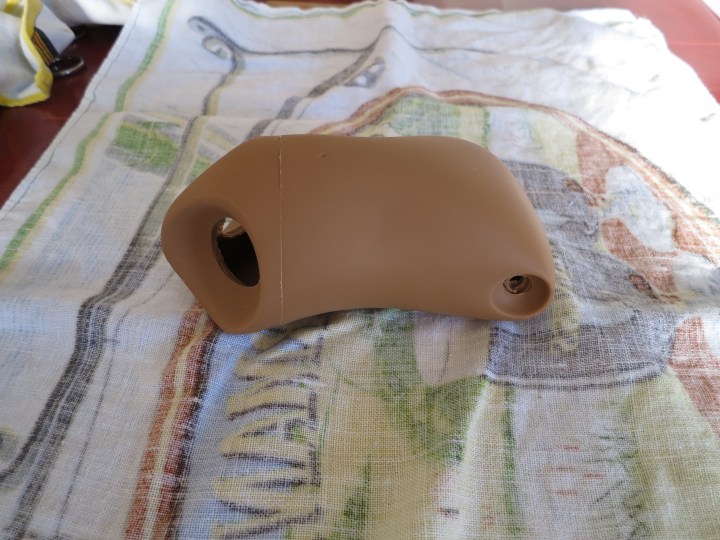
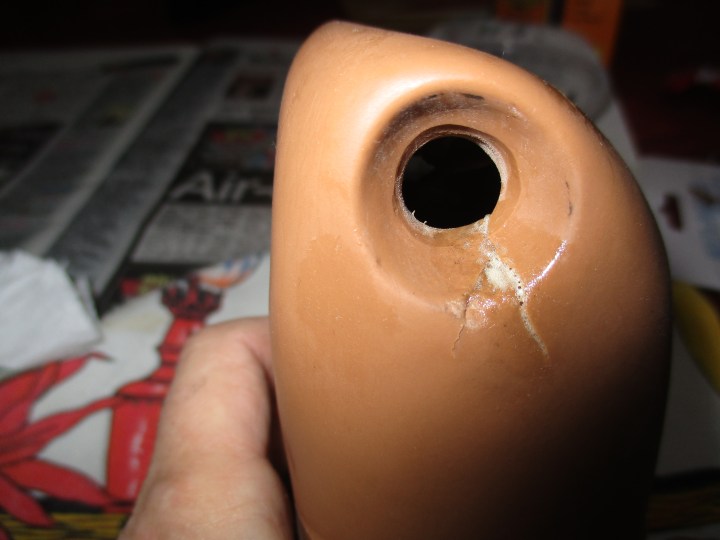
Once the knot was undone I could then slide off the pink plastic cup. I repeated the same process to the other leg. I had discovered that I would have to give Maria new stringing and to get to the head stringing the pink plastic cups had to be removed as they would not fit through the neck opening.
Inside the neck the stringing looks similar to the later English Trendon Sasha dolls, but it is not.

To get the white plastic cup and stringing out of the head, I used the same process of heating the neck opening with a hairdryer. To remove the plastic cup I also used my button hook and forceps.

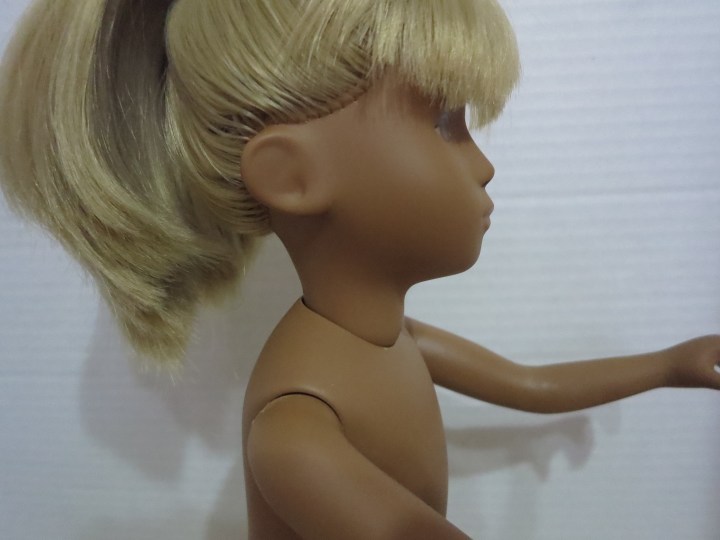
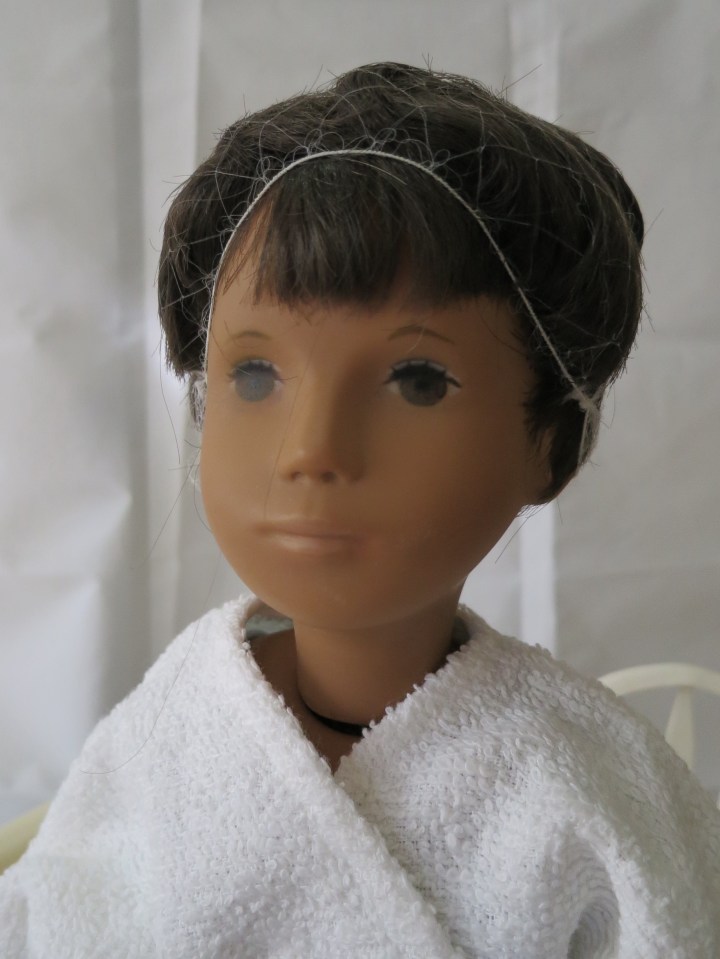
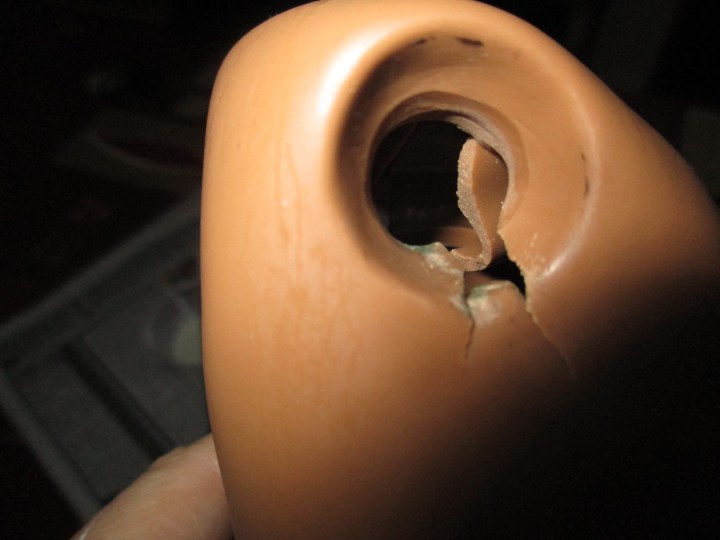
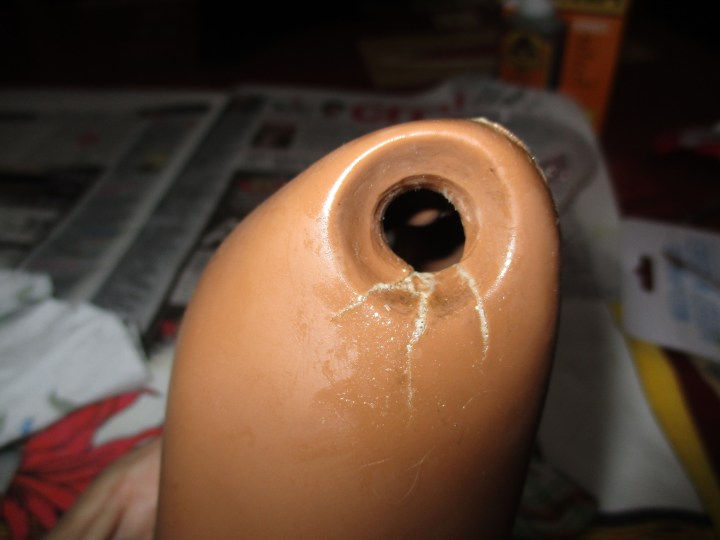
The hole on the head opening is much wider than other types of Sasha dolls and Marias was warped due to the caving.

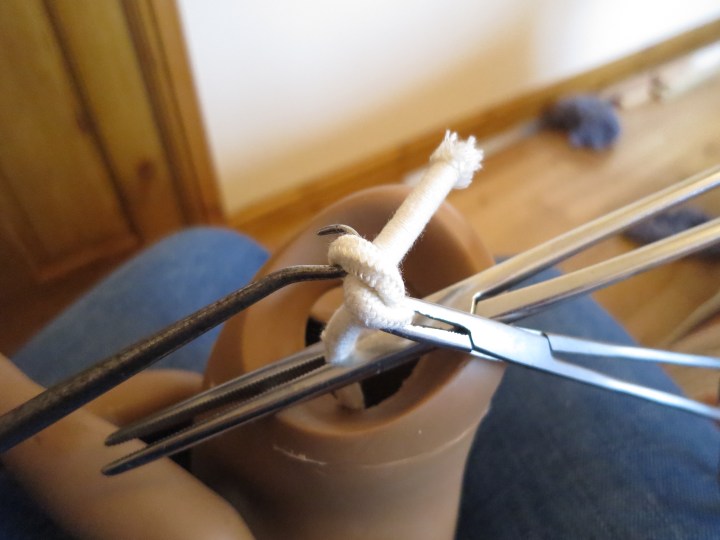
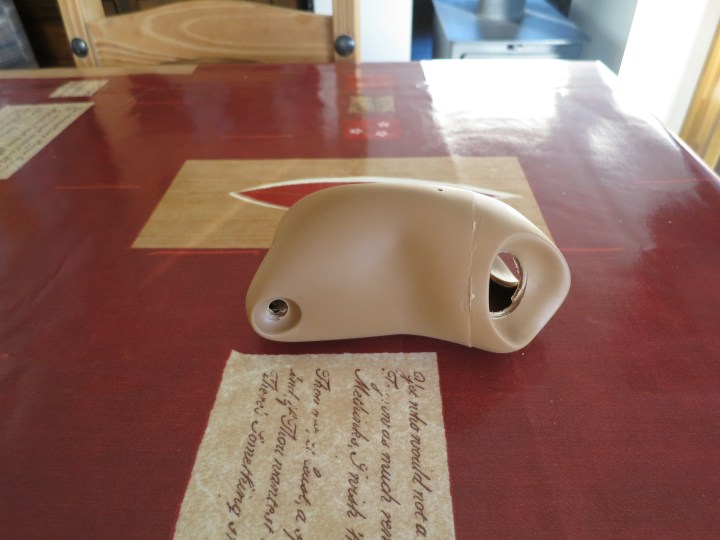
Once I had removed the white plastic cup and stringing from the head, I could see that there was one piece of stringing running through the white plastic cup, which was doubled over and then secured with a small piece of stringing which was tied in a knot. ( I much prefer the English Trendon way of stringing Sasha dolls.)
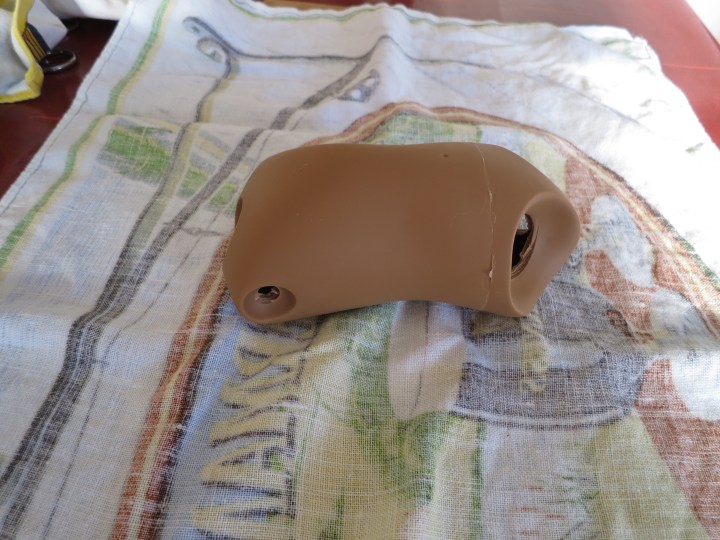
I had now reached the stage where I had her legs and head off. I tried heating her torso using the hairdryer method to try to correct the caving to her body. The hairdryer method did not work, so my only option now was to remove her arm stringing, so that I could boil her body back into shape.
So once again I heated her arm hole with a hairdryer and used my button hook and forceps to remover her arm stringing and white plastic cup. To say the arm stringing was stubborn to remove was an understatement.

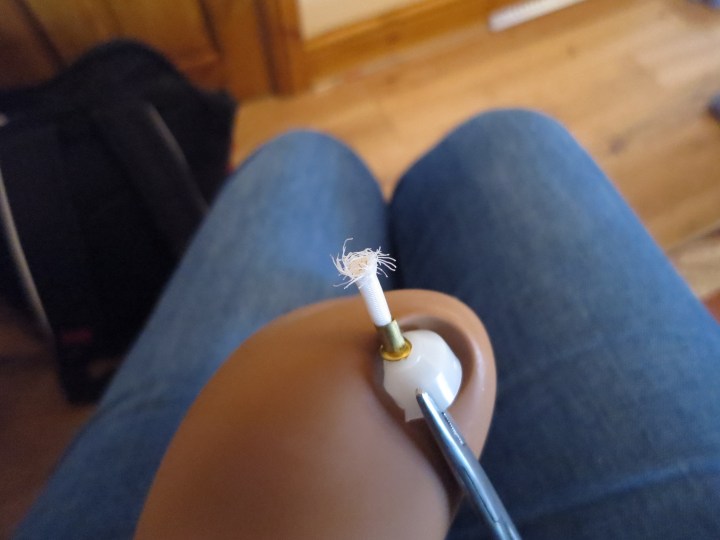
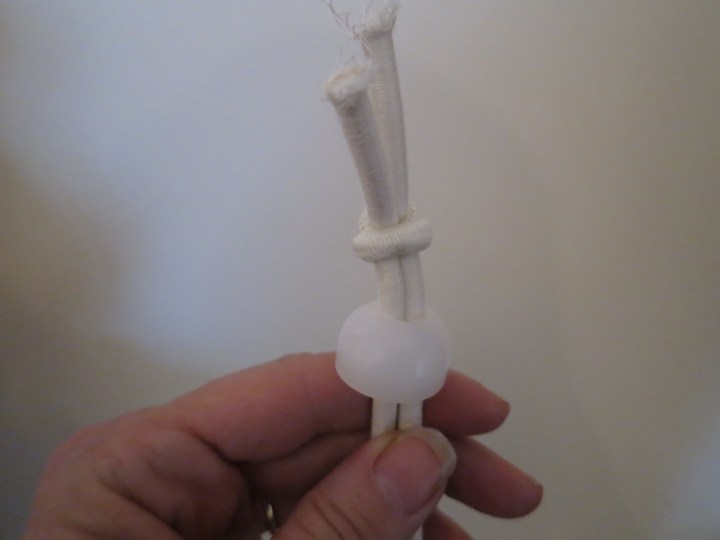
Once I had the stringing and plastic cup out I could see that a brass sleeve insert had been crimped onto the arm stringing to make it more secure. The only way forward now was to cut the stringing to release it from the body.
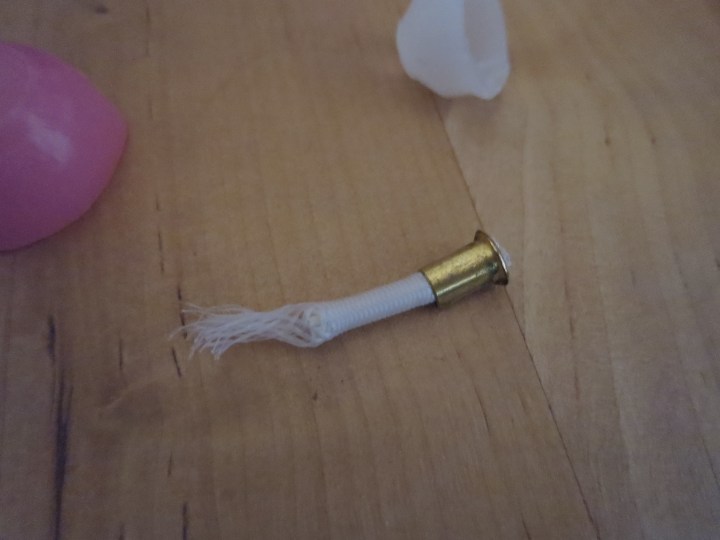

Incidentally the white plastic cups used for the stringing to the head and legs are the same size. The plastic cups in the arms is naturally much smaller.
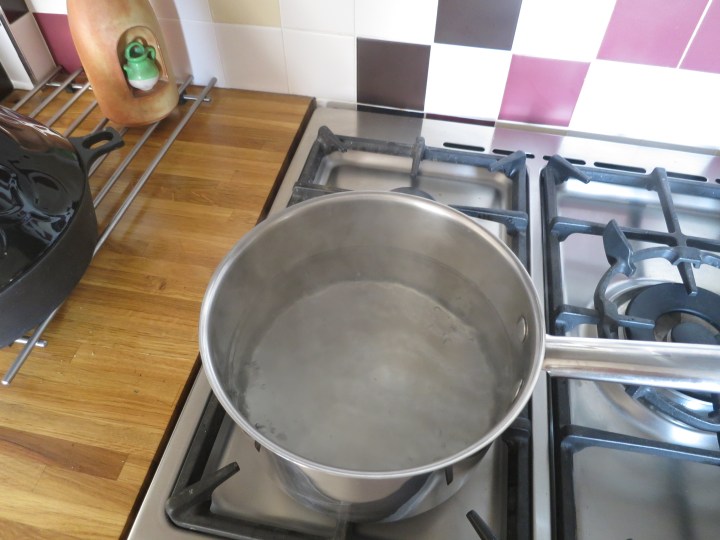
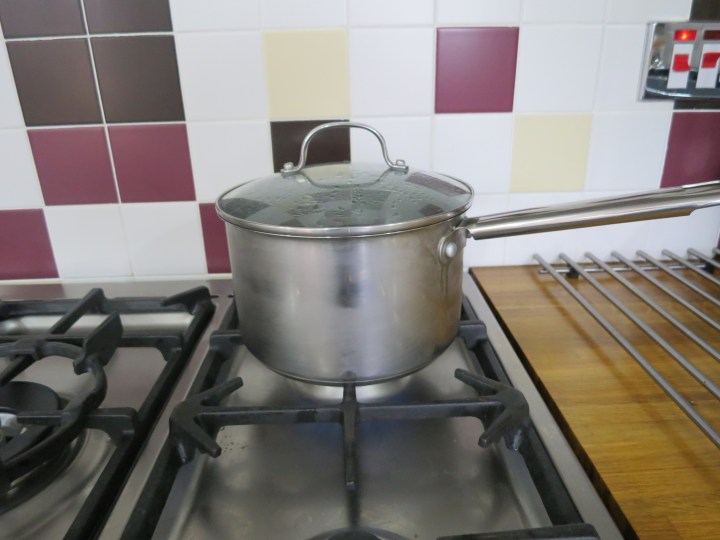
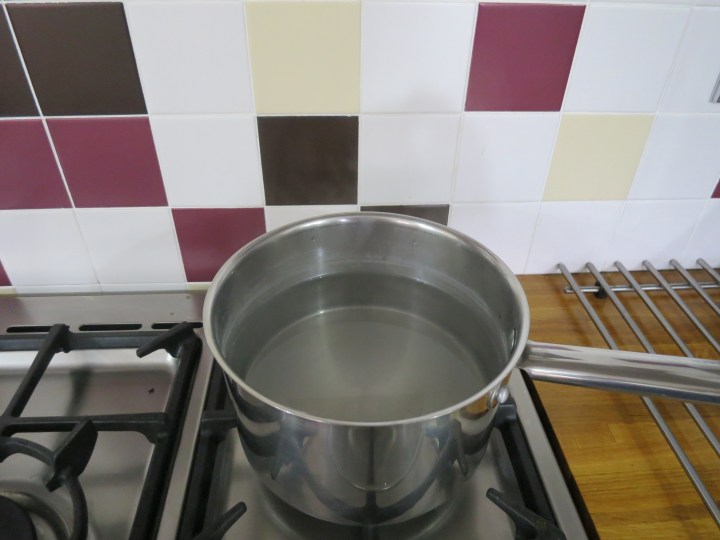
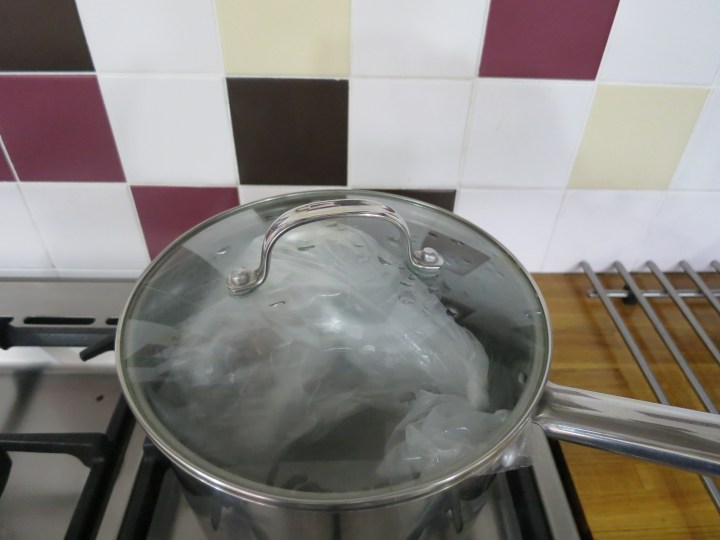
I prepared a saucepan of simmering boiled water.
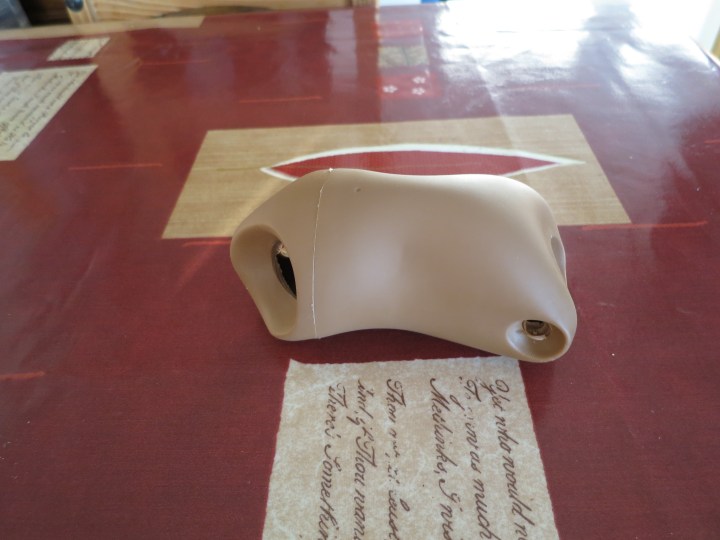
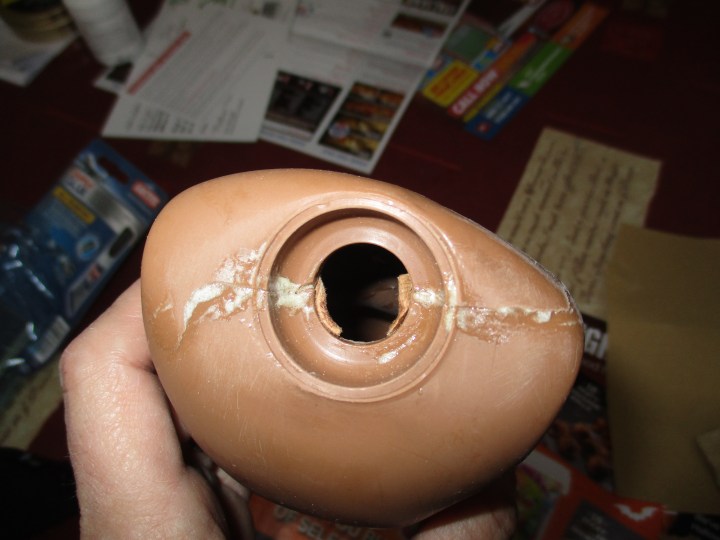
Her are some photos of Maria’s torso before I boiled it, to give you some idea of the degree of caving and warping her body had.

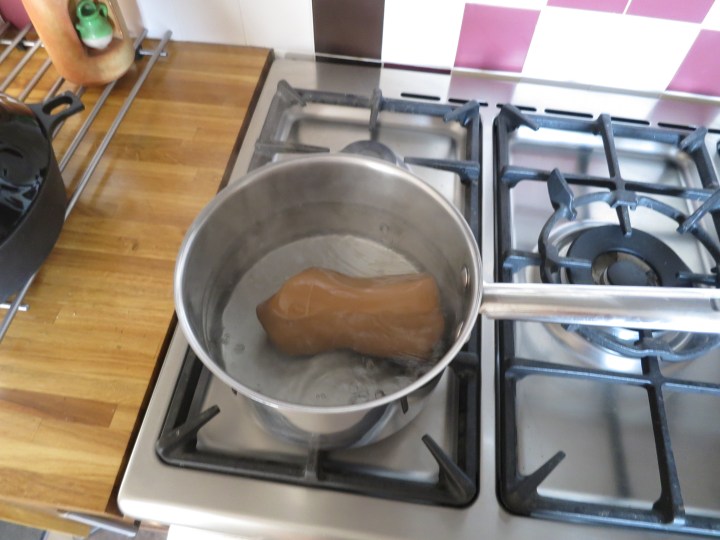
I carefully placed Maria’s torso into the simmering water for 5 minutes. I was careful to place her torsointo the water using a tool with no sharp edges to it, because when the vinyl is softened using something sharp could damage the vinyl in its softened state. I also had a tea towel ready to use to let the torso dry out on.

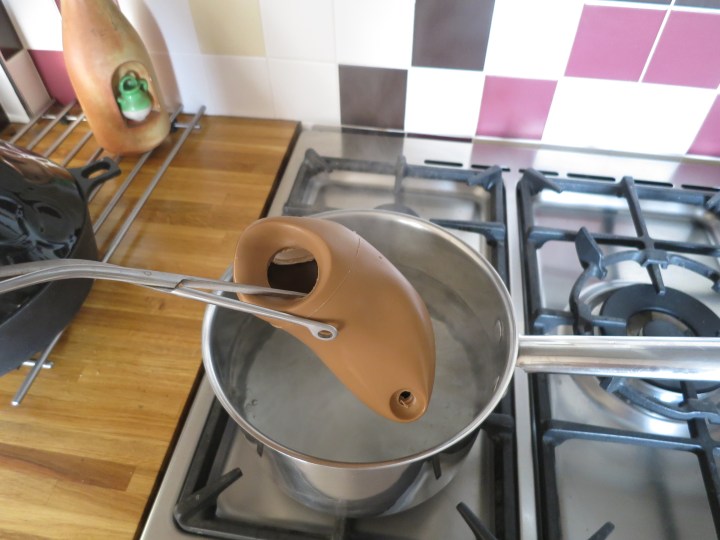
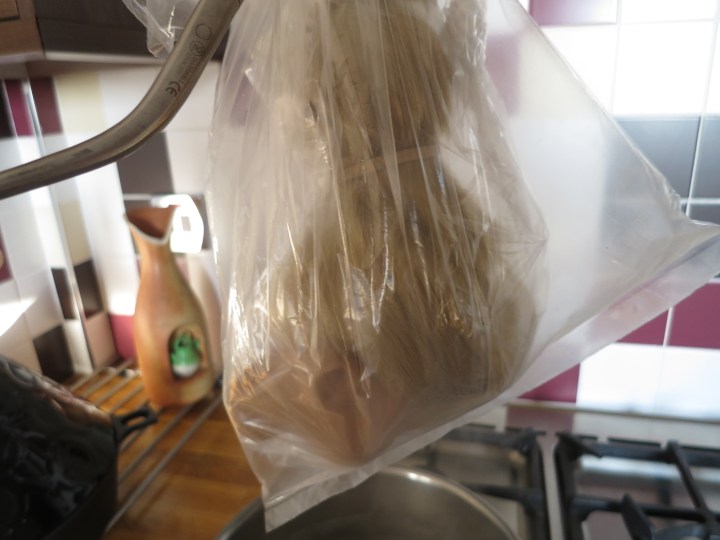
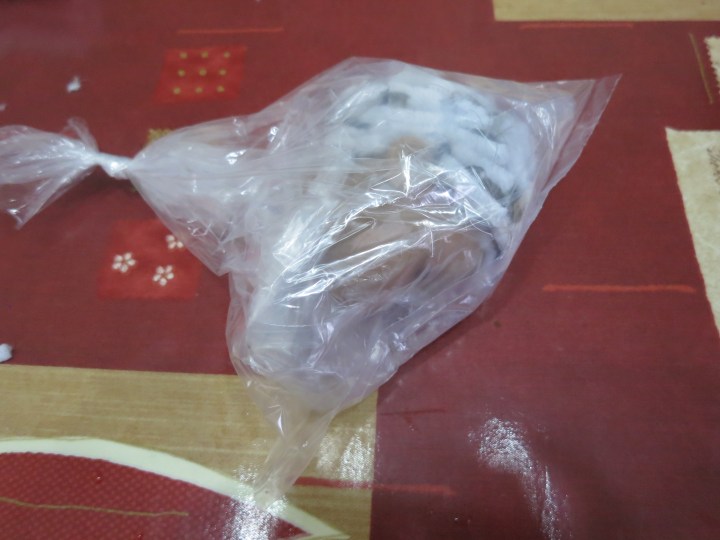
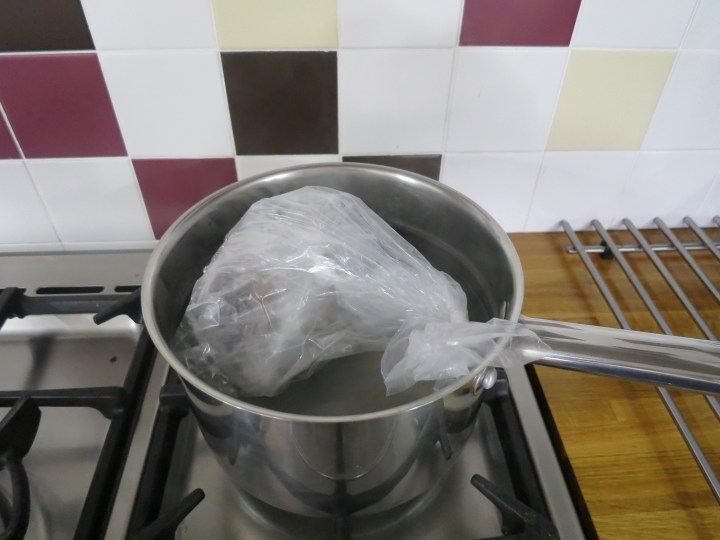
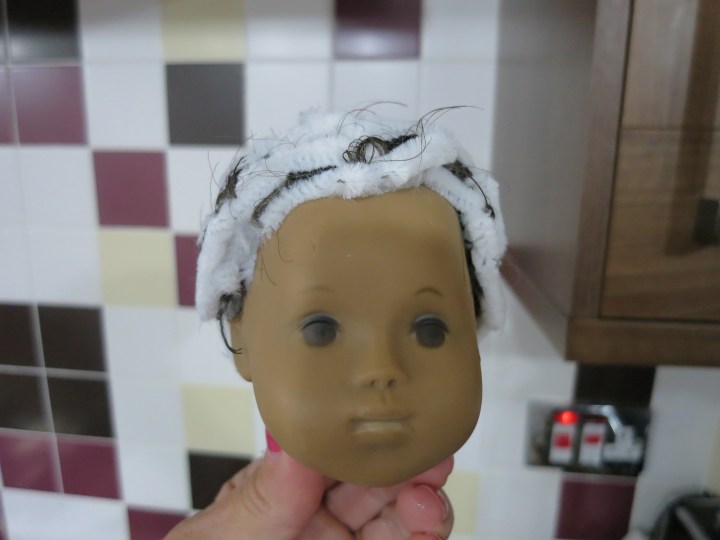
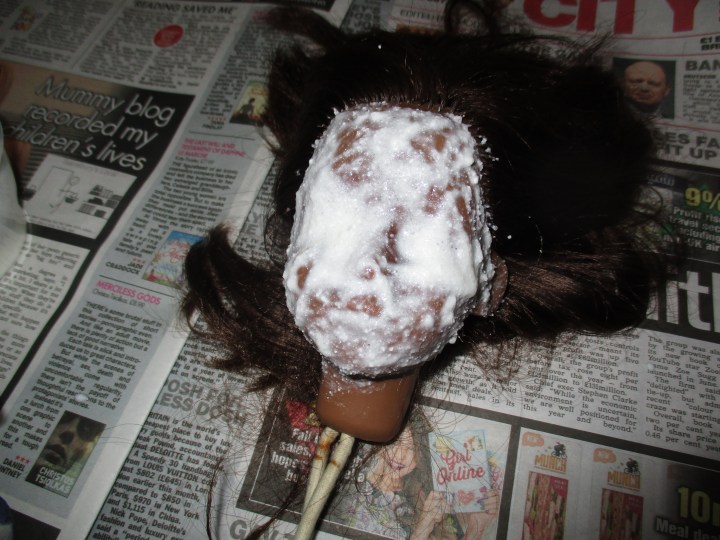
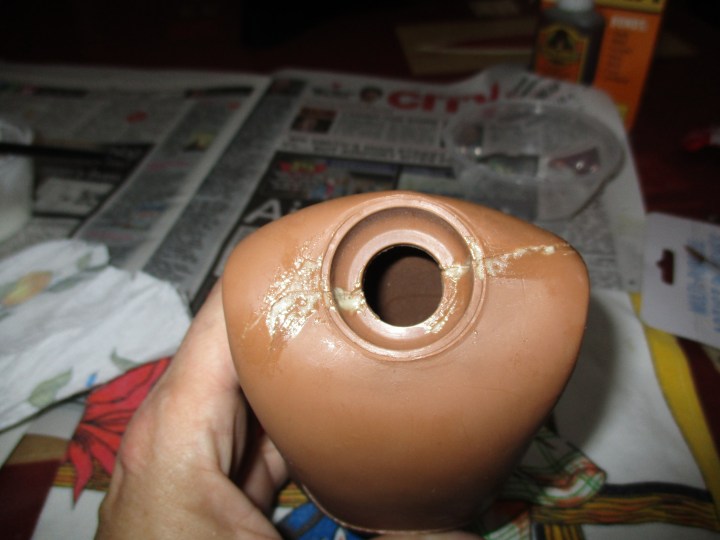
As Maria’s neck was also quite warped, I double bagged her head in two strong freezer bags and held her head over the pan with the neck hole just into, the simmering water for 2 minutes.

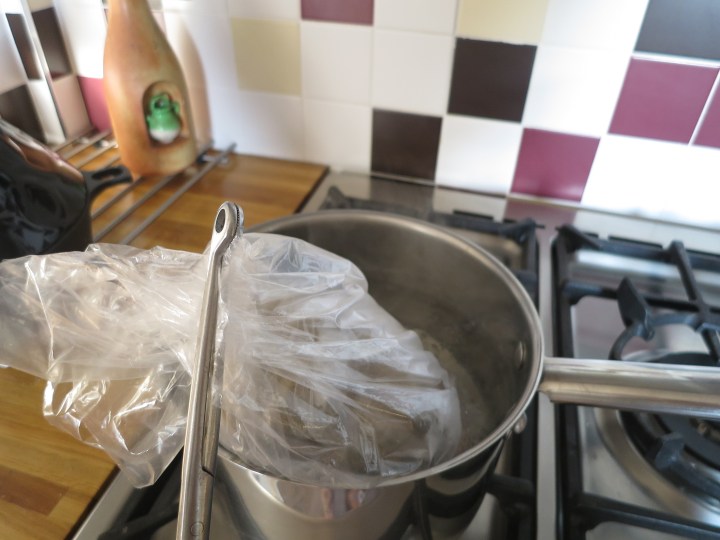
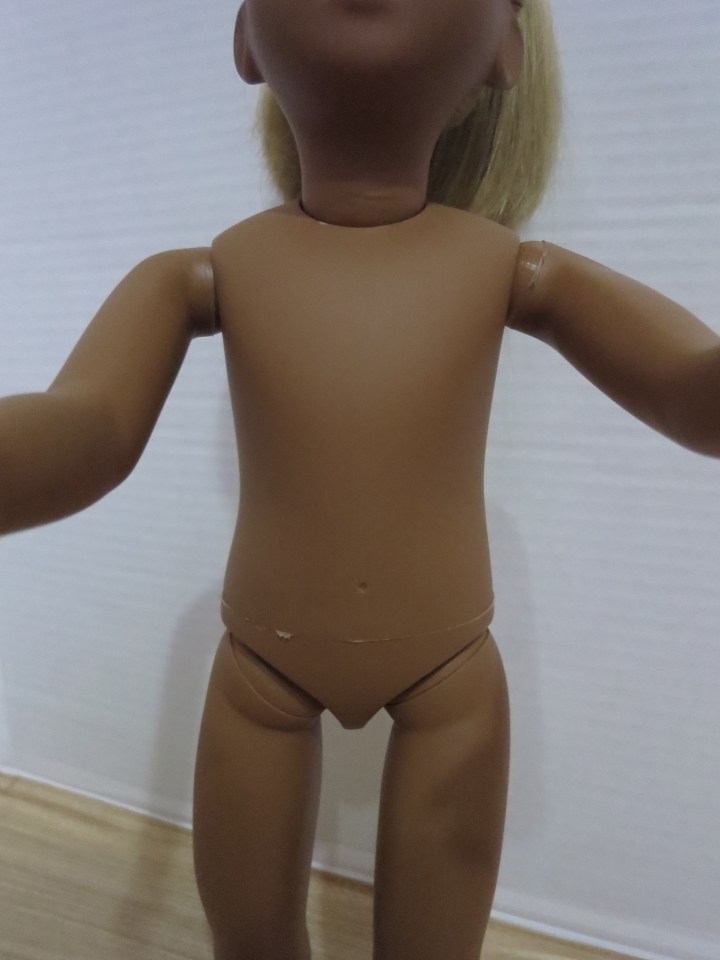
I took Maria’s head out of the plastic bags as soon as possible ,after removing her head from the simmering water. The results were great and her neck hole and body were reshaped back to normal. I left the body parts on the tea towel for about half an hour to let the vinyl cool and re- harden.
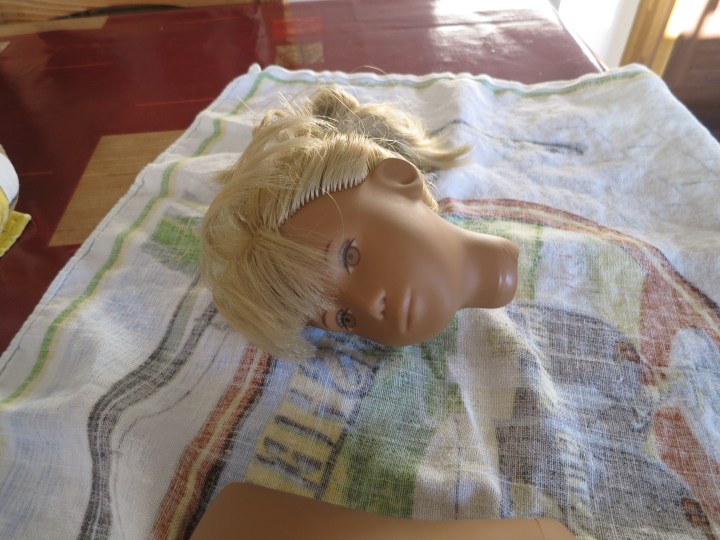

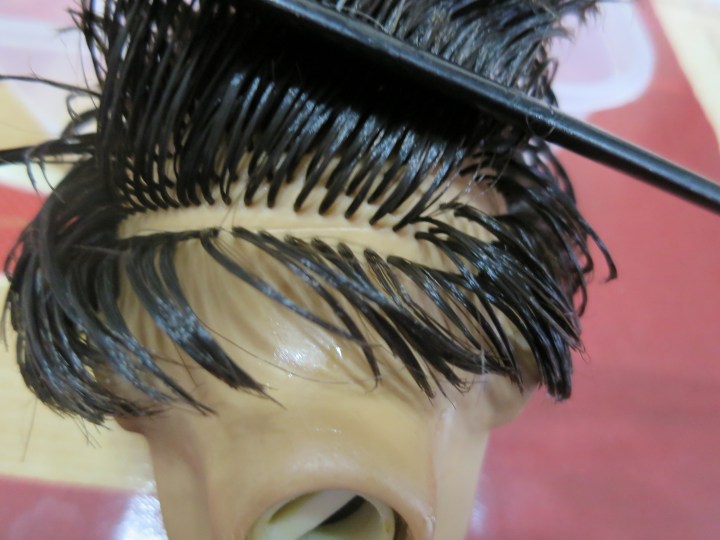
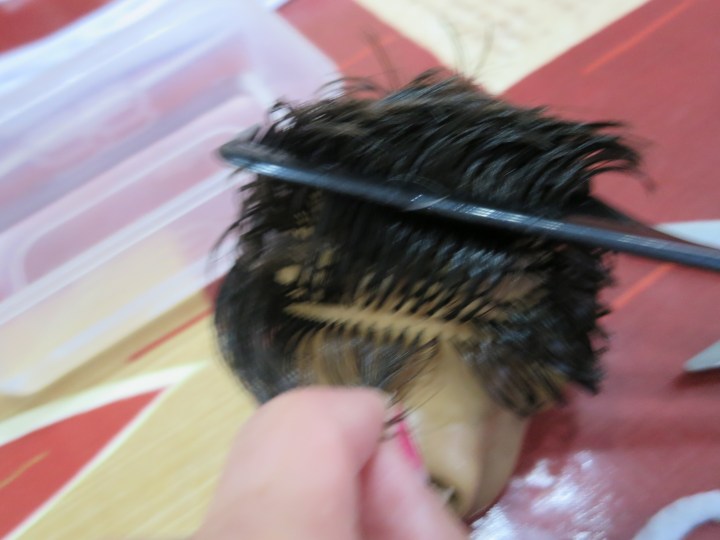
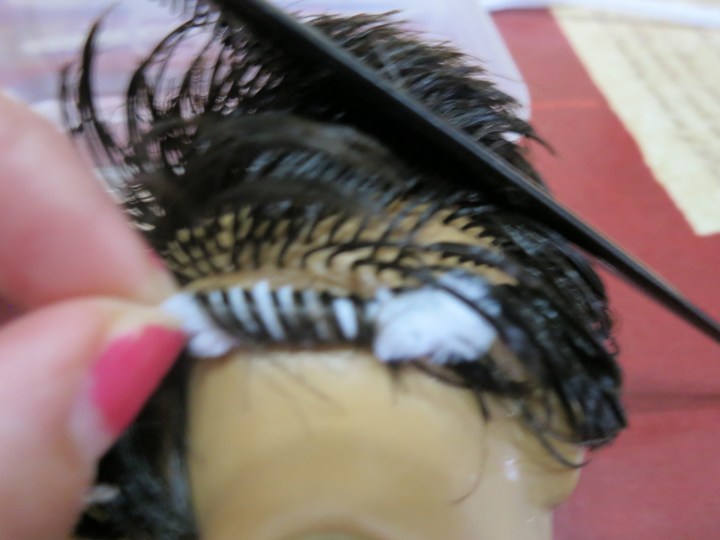
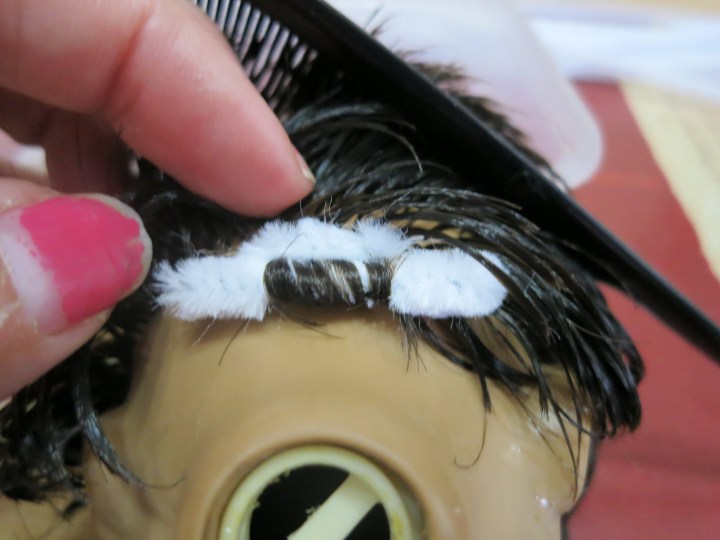
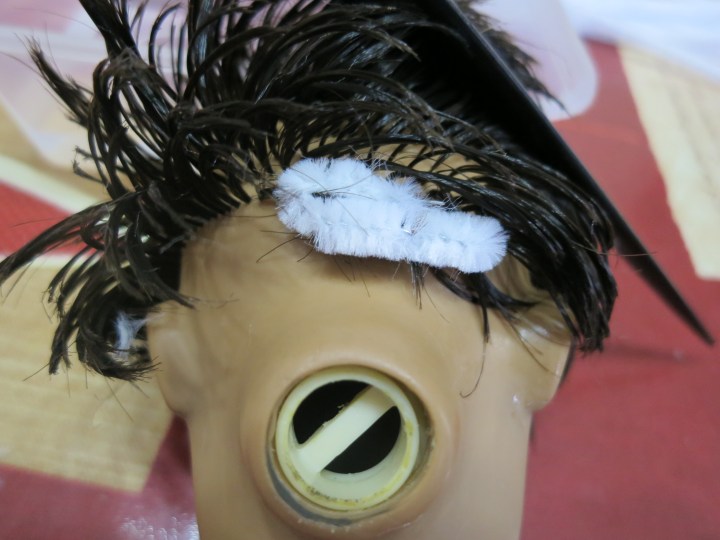
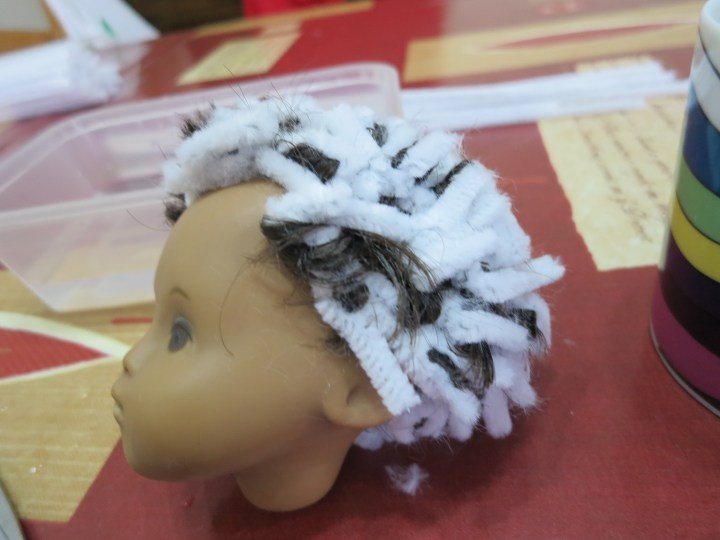
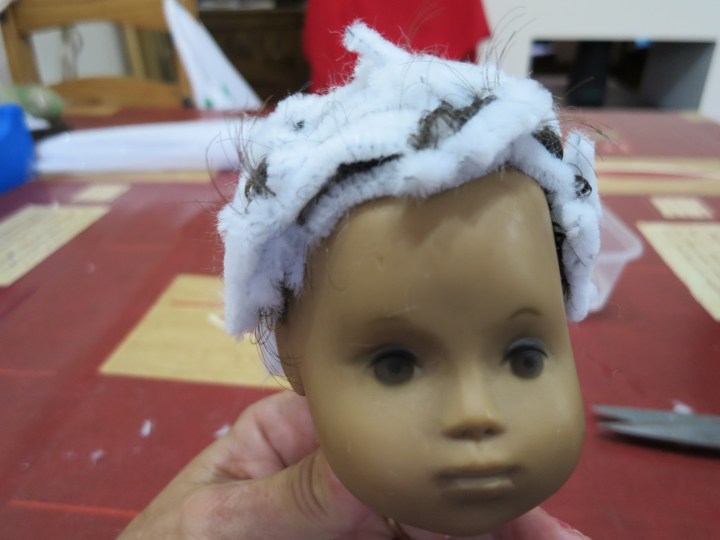
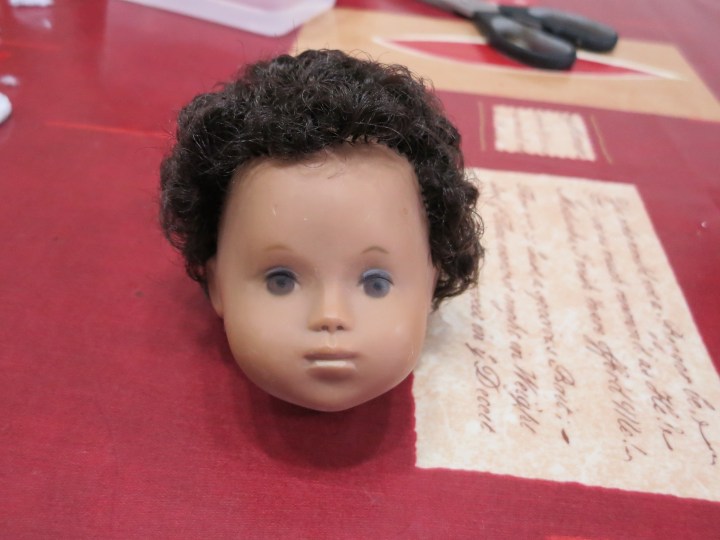
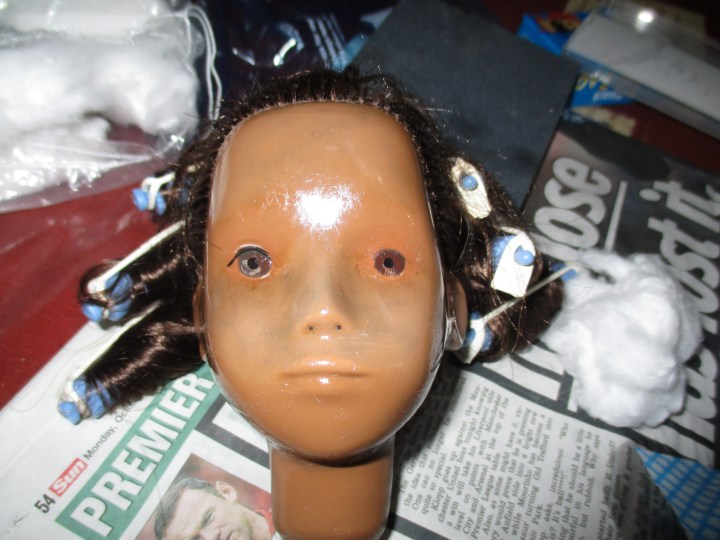
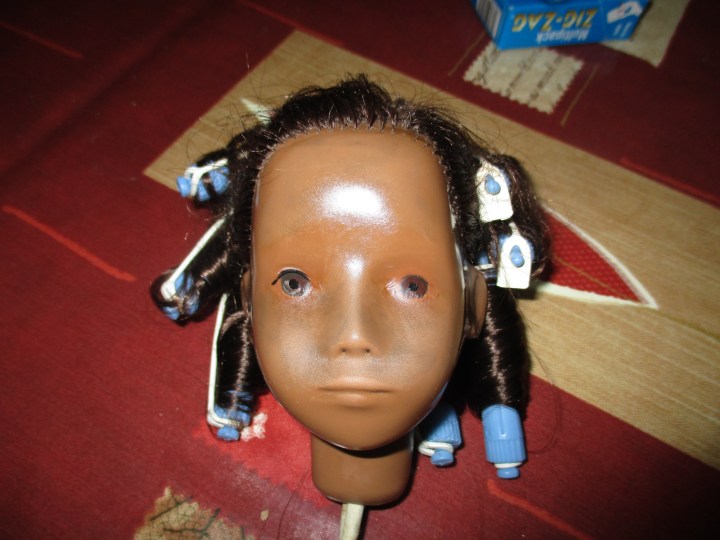
Next I decide to give Maria’s hair a good wash and condition I used Elvives’s hair repair shampoo and conditioner.
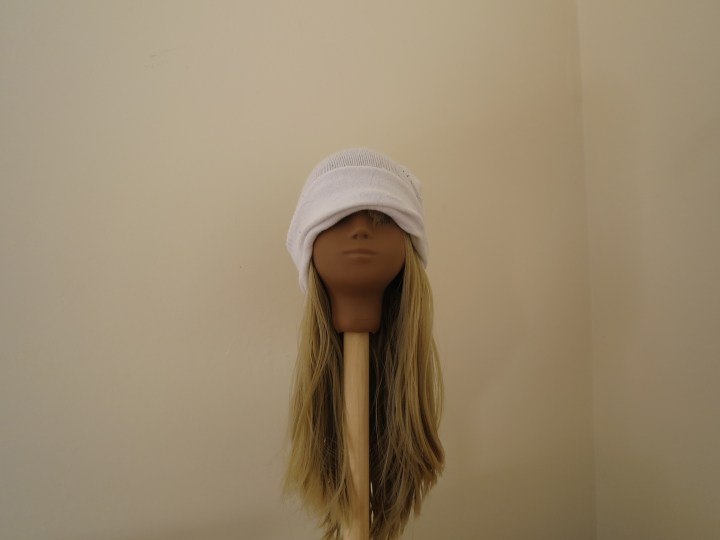
I let her hair dry naturally and placed a rolled up sock on her head to keep her fringe in place.
Now then back to the dreaded re-stringing. The leg to head was not a problem I used new stringing about an inch an a half longer on each leg, to stop any further neck and body caving. The arms were a headache . In the USA I believe you are able to purchase the brass insert sleeves to use for crimping on the arm stringing, however in England they have now been replaced with plastic ones, which are useless for crimping, luckily some time ago I had purchased some arm hooks, which I used to re-string the arms the English Trendon way.

I heated the arm hole for a couple of minutes, inserted the arm hook, using forceps to hold the hook in place on one arm, added the stringing to the hook and then used my button hook to pull the stringing through the body keeping the arm stringing behind the body stringing and connecting it to the arm hook on the other arm.
Maria was so happy she stood on her head.

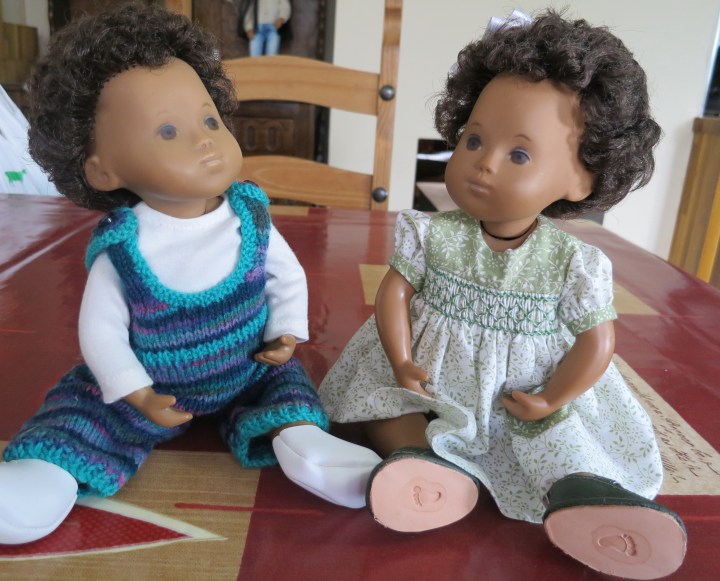
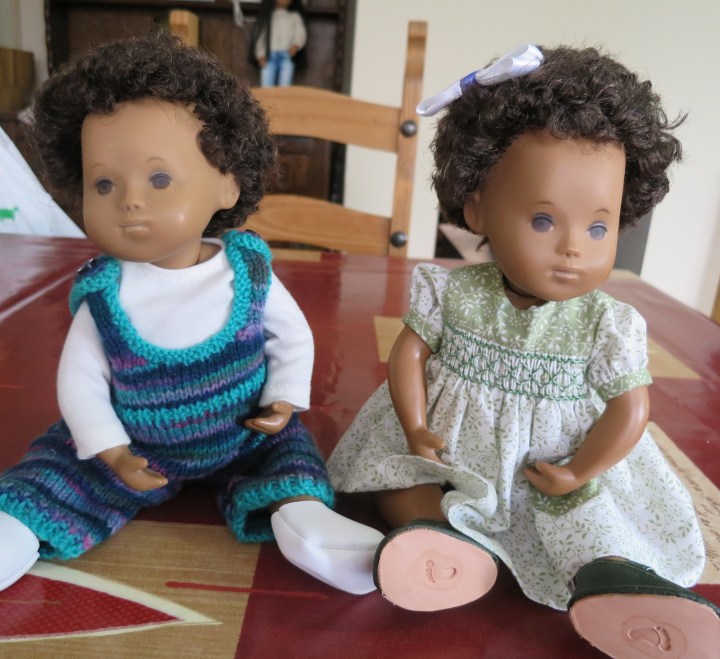
I had given her clothes a good wash and hey presto she was ready to go.

I hope you have enjoyed this post. I am not an expert I am just sharing my Sasha adventures with you and I hope you have enjoyed this post. I am over the moon to have Maria as part of my Sasha family, thanks for reading this.


 The babies head on the left is the one we are working on now and I have decided to simmer her head for 10 minutes. Once the time is up, remove the babies head from the saucepan using the tongs and place it in the freezer bags into a ceramic bowl.
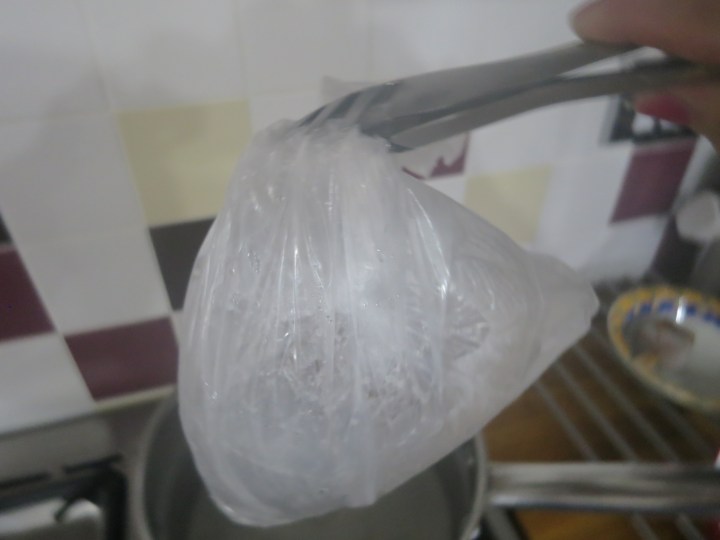


 That only helped a little. The oxy treatment did not work. I then tried to remove the lacquer with nail varnish remover, which helped quite a bit and there was beginning to be light at the end of the tunnel.


Recent Comments